Ahh, long have you been searching for that good ol’ RPG you had so much fun with in the ’90s. Now, you finally got a nice deal on eBay, where the seller proclaimed the item to be in mint condition. As you get the game, you have no reason to  disbelieve him. The hanger is still there, not a dogear in the manual and not a scratch on the cartridge. You plug the game in and play this epic tale until the late evening, when you realize it is time to save, you do so, shut the system off and go to sleep. The next morning, you are up to more world-saving, but the save isn’t there! Your heart begins to pump. Were all those hours leveling up yesterday spent in vain? You are hoping something is just temporarily wrong and restart your Mega Drive several times with the same result every time. You realize there is nothing you can do, so in your rage you go eBay and leave negative feedback, and then you go to Sega-16…
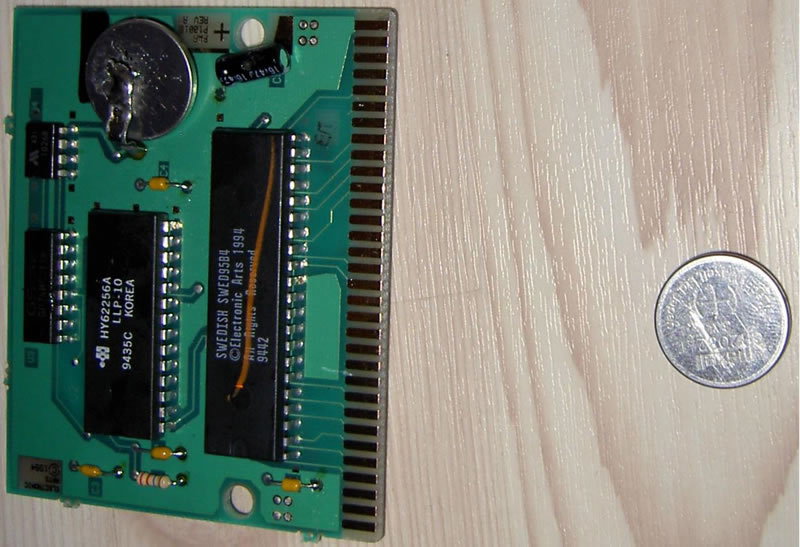
During this operation, my dear patient Elitserien ’95 is getting a new battery to fight his Alzheimer. I, Dr. Zebbe von Quack, will do everything I can to return this Swede into his former glory. I am actually not very experienced with soldering. I have done the region mods on my Mega Drive and also on my friend’s Mega Drive (both the first model). My friend had an empty battery in his Warriors of the Eternal Sun cartridge, so I just decided to give changing the battery a try, and I succeeded. This is the second time I tried to change a battery and also the second time I succeeded, so it proves any n00b like me can do it.
Equipment
Replacing the battery is quite an easy task. The problem is getting all the stuff needed. If you don’t have any soldering equipment, you should know someone who does. If not, you can always buy it at a tool shop. A pack of new batteries should also be available there. If not, you can get one on eBay, the place where I bought my Gamebit 4.5 came bundled with them. Yes, you must get the 4.5 mm version, the 3.8 mm kind won’t work. Also, if you have a Sega Nomad, get a long Gamebit, as it will help you when opening it up for modding and/or cleaning.
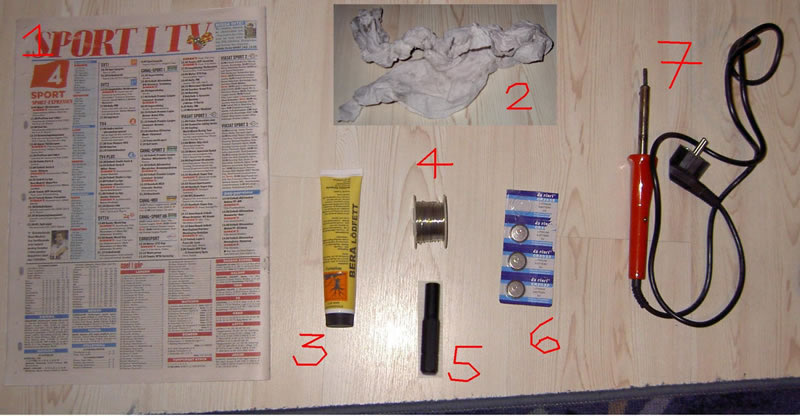
You will need the following:
- Old newspaper as protection when working. FREE! (steal it from the subway)
- TP for your bunghole… Eh, to remove solder grease that comes out of place. FREE! (steal it from McDonald’s)
- Solder grease when removing the old battery and soldering on the new one. A few dorrals.
- Soldering tin – the metal uniting your battery and PCB. A few dorrals.
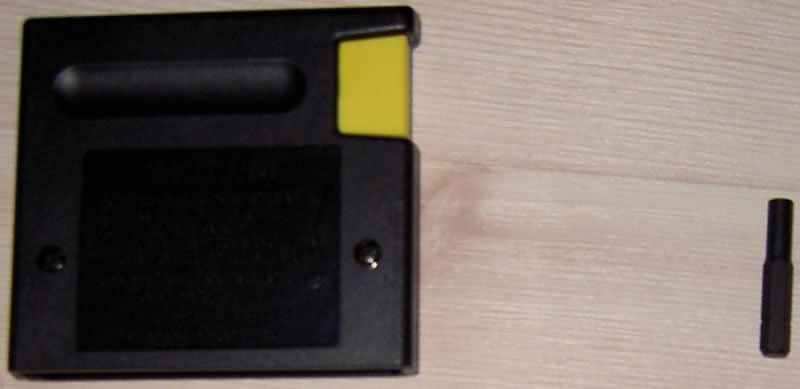
- Gamebit 4.5 mm to open your cartridge with. Some few carts have other types of screws so you may have to find some screwdriver or use evil violence. A few dorrals.
- A new CR2032 battery (I suggest buying a few for future battery replacements). A few dorrals.
- Soldering iron to solder with. Around $10.
Some recommendations before you start:
- If you feel insecure, it is better to ask for help than risk screwing up.
- Make sure your things are clean before using them.
- Be very careful when using the soldering iron so you don’t hurt yourself or your items.
Let’s begin!
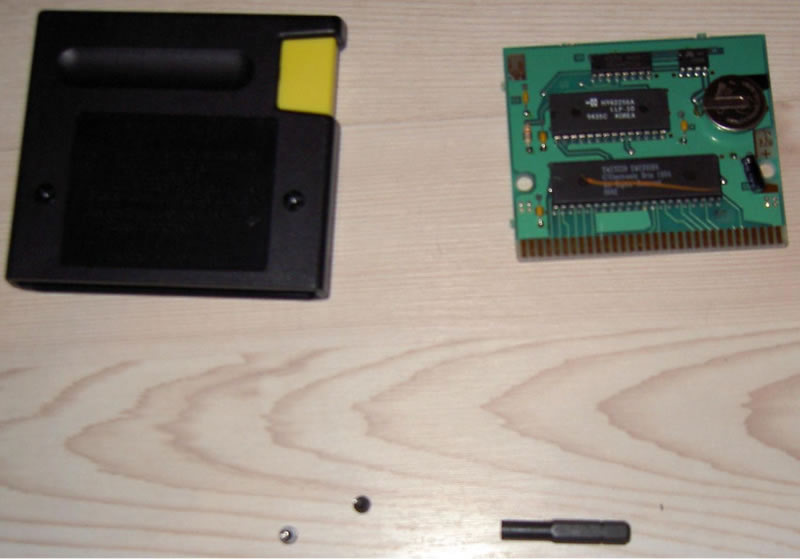
Step 1: Open the cartridge with your Gamebit 4.5 mm. See how the PCB fits inside the cartridge and then take out the PCB. If you are replacing a battery in an EA cartridge, you will find a wonderful new reason to hate the yellow tab.
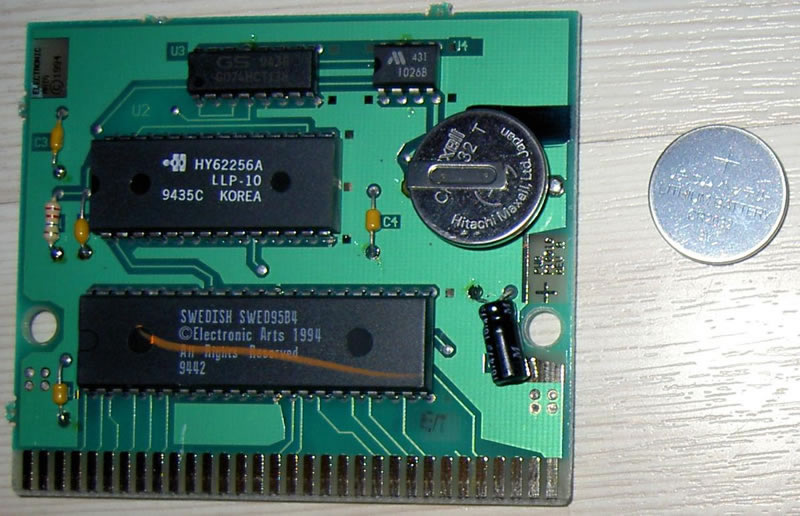
Step 2: Take notice of how the old battery fits into the PCB. The battery’s positive (+) side is facing towards you.
Step 3: Remove the old battery. This may either be either easy or hard. In this case it was very hard. I had to use lots of solder grease and solder a lot at the old attachment before finally getting it to come off with the help of evil violence. Be careful so you don’t screw up.
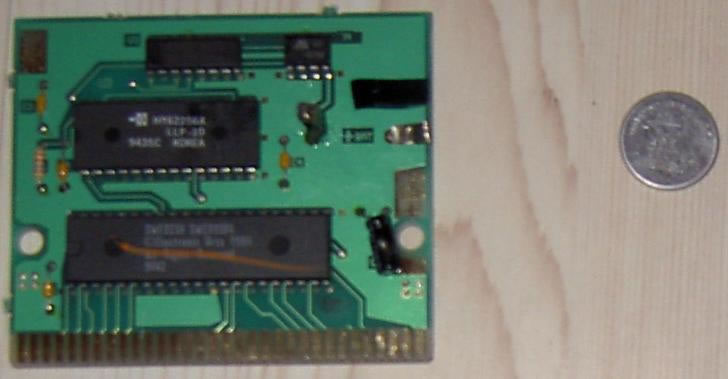
Step 4: Put VERY LITTLE solder grease on the new battery. Then solder between the flap and the positive side of the battery using your soldering tin. It is not necessary to solder on the negative (-) side of the battery, as it doesn’t lead to the chips. Wait a little while until the soldering has cooled, then make sure it is stuck on the flip. Clean the PCB and your tools carefully.
Step 5: Insert the PCB inside the plastic case and screw the screws with the Gamebit. Make sure it fits properly and isn’t loose.
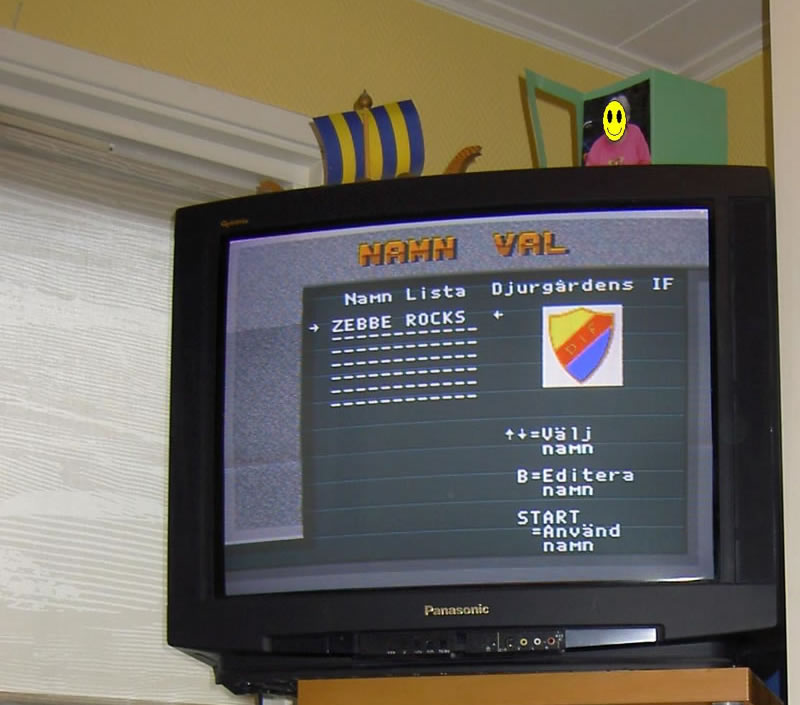
Step 6: Time for some testing. Your old saves will never come back, but you may use your new ones for well over a decade. Just make sure you don’t reset when saving or loading, as that may erase your saves.
Done! Thank you for reading. I hope you found this guide useful.

Recent Comments